When it comes to improving the visibility of your WordPress website, SEO (Search Engine Optimization) is one of the most effective strategies. One key element of SEO is properly adding SEO tags—like meta titles, descriptions, and keywords—to your website’s pages. These tags help search engines understand what your content is about, which in turn can improve your search rankings and click-through rates.
In WordPress, you can add SEO tags either by using a plugin or manually editing your theme files. While plugins provide a simple and efficient way to add and manage SEO tags, the manual approach allows you more control, especially for those who want to customize their site further or aren’t using an SEO plugin. In this article, we’ll go over both methods so you can choose the one that works best for your site.
SEO tags play a crucial role in how search engines understand and index your content. The most common SEO tags include:
- Meta Page Title: This is the title of your page as it appears in search results. It should be concise, typically under 60 characters, and should contain your primary keywords.
- Meta Description: A brief summary of the page’s content, usually between 150–160 characters. While the meta description itself doesn’t directly impact rankings, it influences whether users click on your page in search results.
- Meta Tags/Keywords: Though less relevant today (since Google no longer uses them for ranking), some people still add meta keywords to their pages.
- Open Graph & Twitter/X Cards: These are tags that ensure your content appears correctly when shared on social media platforms, showing the right image, title, and description.
These elements help make your site becomes more accessible and appealing to both search engines and users.
Adding SEO Tags Using Plugins
WordPress doesn’t have built-in options for easily adding SEO tags. Therefore, most users turn to SEO plugins to manage their meta tags and maximize SEO potential.
SEO plugins provide a user-friendly interface to add and customize SEO tags without needing to touch any code. They help automate many tasks related to SEO, such as generating meta tags based on your page content and allowing further customization. They also help ensure your content is optimized for social media sharing, and they provide insights on improving SEO for individual posts and pages.
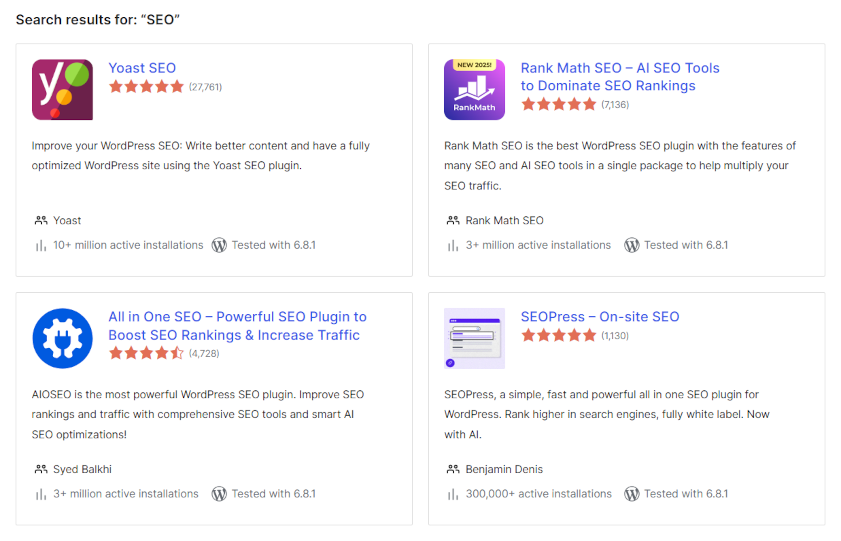
There are many options available, including popular options Yoast SEO, Rank Math, or All in One SEO. Review our article on Installing an SEO Plugin in WordPress for how to install and configure one.
Configuring Key SEO Settings in Plugin
Once you’ve installed and activated your SEO plugin, you’ll need to configure its general settings.
This can include your site base title and description, usually set within the default WordPress Settings >> General page but with further customization options. Plugins will auto-generate it based on your content, but you can edit them make it more engaging and relevant and encourages visitors. To edit indivdual pages, many plugins have additional settings in the “Edit Post” or “Edit Page” page for the specific post or page
Many plugins allow you to specify focus keywords, those you want the page to rank for. They’ll analyze your content and provide suggestions for improving keyword optimization, you should ensure that the focus keyword appears naturally within your title, description, and content.
And you’ll also want to set social media cards, including for Open Graph and Twitter/X Card tags. These tags control how your page appears (including image and description) when shared on social media platforms like Facebook and Twitter.
Manual Method for Adding SEO Tags
Why Add SEO Tags Manually?
Although SEO plugins offer convenience and automation, you also have an option of manually adding SEO tags to your site. This can be ideal if you’re working with a custom theme, prefer not to use plugins, or simply want to customize SEO tags in a more hands-on way.
To add SEO tags manually, you’ll need to edit your theme files, specifically the header.php file or functions.php file. This method requires some technical knowledge, and you should always back up your website
How to Add SEO Tags Manually
To add SEO tags manually, you’ll need to access your theme files directly. Whenever making changes to your website files, you should always take a full backup in case anything goes wrong. Just a single extra character can make your site unusable. Review our How to Backup WordPress article for taking a safe copy of your site before edits.
You can do this through the WordPress dashboard >> Tools >> Theme File Editor, by using an FTP client (such as FileZilla) or your hosting provider’s file manager.
Accessing your host’s file manager tool or FTP is the more safe method, as it helps in undoing or reversing accidental changes that might affect your site’s functionality.
- File Manager/FTP: Log into your hosting account and open the File Manager tool (or access your site via FTP).
- Then navigate to the “/wp-content/themes/” directory then choose your theme’s directory to access its files.
You can choose to work with the header.php or functions.php file. Your site’s HTML structure including meta is controlled by your theme files, usually the header.php file which contains these tags and other elements critical for your site’s functionality and appearance. Alternatively, you can edit the functions.php creating custom SEO functions for more advanced customization.
Adding Meta Tags to the Header
To add your meta tags to the header.php file, you can add the following code in between the existing <head> and </head> tags to insert your SEO tags:
<head>
...

<meta name="description" content="<?php echo get_the_excerpt(); ?>" />

<meta name="keywords" content="<?php echo implode( ', ', wp_get_post_tags( get_the_ID(), array( 'fields' => 'names' ) ) ); ?>" />

<title><?php wp_title(); ?></title>

...
</head>
In the above code:
- get_the_excerpt(): This function retrieves the post or page excerpt for the meta description. If no excerpt is set, WordPress will use the first 160 characters of the content as a fallback.
- wp_get_post_tags(): This function retrieves the tags assigned to the current post or page. It then uses the implode() function to create a comma-separated list of tags for the meta keywords.
- wp_title(): This function dynamically generates the title of the page or post.
This approach ensures that the meta keywords are tailored specifically to each individual page, using the tags you’ve assigned in the WordPress post/page editor.
Using Functions for Custom SEO Tags
For even greater control over your SEO tags, you can add a custom function in the functions.php file. Here’s an example of how to do that, usually at the end of the file:
function custom_meta_tags() {
    if (is_single() || is_page()) {
        echo '<meta name="description" content="' . get_the_excerpt() . '" />';
        echo '<meta name="keywords" content="' . implode( ', ', wp_get_post_tags( get_the_ID(), array( 'fields' => 'names' ) ) ) . '" />';
    }
}
add_action('wp_head', 'custom_meta_tags');
This function will automatically add a meta description and meta keywords (using the post tags) to the section of your site for single posts and pages.
Adding SEO tags to your WordPress site and ensuring that proper meta titles, descriptions, and keywords are set up is essential for improving its search engine visibility and user engagement. Whether you utilize a plugin tool or manually ad them, this allows you to have more control over your site’s SEO appearance and performance.
Ensuring your meta titles, descriptions, and keywords are properly set up is a crucial step in making your WordPress site more search-engine-friendly.

Leave a Reply