By default, WordPress doesn’t include built-in SMTP (Simple Mail Transfer Protocol) email settings. Instead, it uses the basic PHP mail() function, which often doesn’t work reliably on many web hosts or servers sometimes for security reasons. This also doesn’t let you set custom services or external email servers.
If your WordPress isn’t sending emails or you want to make sure your emails actually get delivered, this may be the tool for you.
WP Mail SMTP is a WordPress plugin for managing email function within your website. It replaces the default mail function with SMTP (Simple Mail Transfer Protocol) — a secure and authenticated method trusted by major email providers, and allows you to set your custom server settings or seamlessly integrate with popular providers and email marketing and management platforms.
Their Lite plan is sufficient for basic email sending and weekly summaries. Pro offers more advanced features such as email reports (sent, failed, opened, etc), click tracking, logging, and even backup connections. You’ll also need Pro to use direct mailers such as Amazon SES, Microsoft 365/Outlook and Zoho Mail. Review their full plans on their official plans page.
How to Install and Set up WP Mail SMTP
First, you’ll need to install the WP Mail SMTP plugin, either manually or through your dashboard. Feel free to review our article on How to Install WordPress plugins, or from your dashboard, head to Plugins >> Add New.
Then search for WP Mail SMTP.
Press Install, then Activate. You’ll then be automatically redirected to the setup wizard to complete setup.
Configure Settings
Once at the setup wizard, press Let’s Get Started. You can also skip and go back to the WordPress dashboard and manually configure within the plugin’s Settings page. The Setup Wizard can always be manually run from the plugin’s Settings page.

Now you can set up your email, configuring your desired settings.
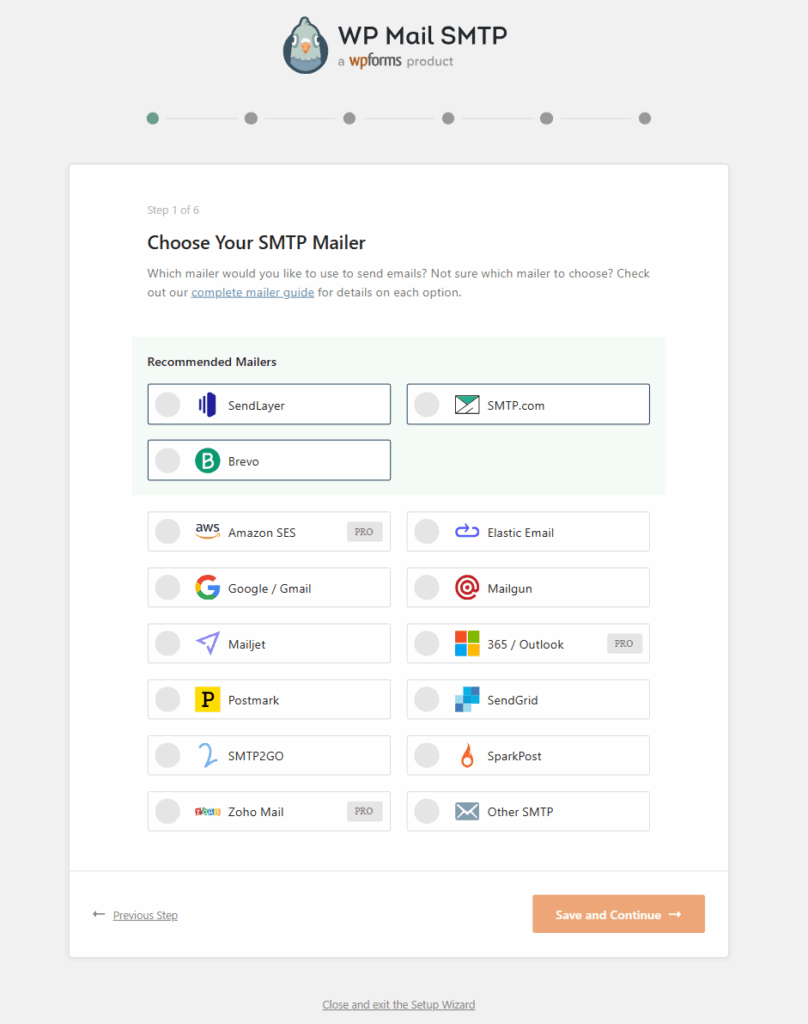
Some mailers will require additional steps such as authenticating with said service. Others such as 365 would need the pro plan.
Choosing Other SMTP, for example, would bring you to the next step where you can enter settings including:
- Host settings (port, encryption)
- Authentication (email/username, password)username
- Set From Name, and more.

After setup, an automatic email will be sent. You can also run tests under the plugin’s Tools page.
And that’s it. Emails should now be working fine. If you’re having issues with receiving email, recheck your configuration and run Setup Wizard again if needed. If having issues with a specific plugin or feature, check that specific tool’s settings to see if they have custom email settings.

Leave a Reply