What is Zapier?
Zapier is an online tool that helps you automate tasks between your favorite apps, making it easier to get work done without needing to spend time on repetitive tasks. Instead of manually moving data from one app to another or sending reminders to your team, you can set up “Zaps” that do all that for you.
A Zap is an automated workflow that connects two or more apps. For example, you can set up a Zap that automatically sends a notification to your team’s Slack channel every time a build is completed in your CI/CD system, or one that creates a task in your project management tool whenever a new issue arises in your code.
With Zapier, you can create a seamless connection between your apps, saving you time and ensuring that important tasks never slip through the cracks. Even if you’re not familiar with coding, Zapier’s easy-to-use interface allows anyone to set up their own automation.
Why Automate Your Build Process?
If you’re working in software development, automating your build process can be a game-changer. Instead of manually checking when a build is complete, running tests, or reminding your team members about issues, Zapier can handle these tasks for you. Automation ensures that key actions, like sending notifications or updating project management tools, happen instantly when needed—without any extra work on your part.
By using Zapier for build automation, you can:
- Save time on repetitive tasks
- Reduce human errors
- Keep your team in sync with automatic updates
- Focus on more important tasks, like writing code or reviewing features
We’ll show you how easy it is to create your first Build Automation Zap so you can start simplifying your workflows today.
Step 1: Sign Up or Log In to Zapier
If you don’t already have a Zapier account, you’ll need to create one. Go to Zapier.com, click Sign Up, and follow the easy steps to create your account. If you already have an account, just log in.
Step 2: Create a New Zap
Once you’re logged in, you’ll see a dashboard.
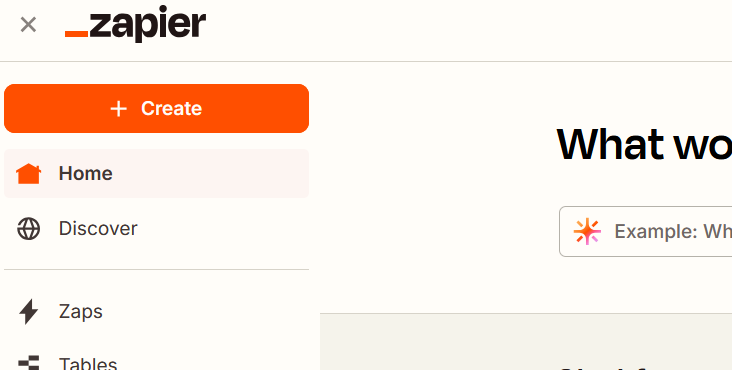
Click on the “Create a Zap” button to begin creating your automation.
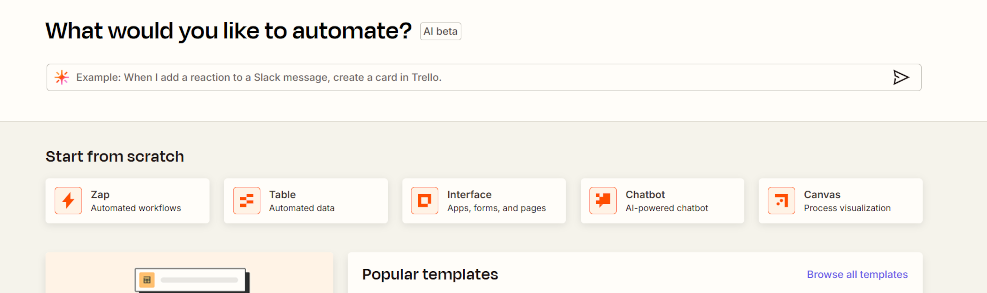
This is where the fun starts!
Step 3: Choose a Trigger App
A Trigger is an event that starts the automation. For a build automation, your trigger might be an event in your email, website, or development tool like GitHub or GitLab. For example, when a new email is received, or a new commit is made or when a build completes.
Here’s how to set it up:
- In the search box, type the name of the app you use
- Choose a specific event
- Connect your app account to Zapier by following the on-screen instructions.
Step 4: Set Up Your Action
After choosing your trigger, you need to decide what happens next. This is called the Action.
For example, after your build completes, you might want to:
- Send a Slack message to your team.
- Create a Jira task for a bug report.
- Update a Google Sheets spreadsheet with build results.
To set this up:
- Select the app where you want the action to take place (e.g., Slack, Jira, Google Sheets).
- Choose the specific action (like sending a message or creating a task).
- Follow the prompts to authenticate your account and customize the action.
Step 5: Test Your Zap
Before your Zap goes live, it’s a good idea to test it to make sure everything works as expected. Zapier will guide you through testing the trigger and the action to confirm that your automation is set up correctly.
Once you’re happy with how it works, you can turn on your Zap. From now on, your Zap will run automatically whenever the trigger event occurs!
Step 6: Monitor and Refine
Once your Zap is live, Zapier will keep an eye on your workflows and trigger the action every time the event happens. You can always come back to your Zapier dashboard to adjust settings, add more actions, or tweak your Zaps as your needs evolve.
Benefits of Using Zapier for Build Automation
- Time-Saving: Automate repetitive tasks so you can focus on more important work.
- Consistency: Ensure that actions like notifications, bug reports, and task creation happen every time without fail.
- Error-Free: Reduce the chance of human error by automating manual steps and tasks.
- Flexibility: Customize your automations to fit your exact needs, whether you’re working with a team or managing individual projects.
Creating a Build Automation Zap with Zapier is a simple yet powerful way to streamline your development workflows. By automating tasks like sending notifications, creating tasks, and tracking progress, you can ensure that your team stays on track without spending extra time on manual processes.
Now that you know how easy it is to set up your first automation, you’re ready to start saving time and boosting productivity with Zapier!
Ready to start automating? Sign up for a free Zapier account today and create your first Build Automation Zap.

Leave a Reply