Ever found yourself in a bind without Wi-Fi and needing to get online? It can happen to all of us and at anytime—whether you’re traveling for work, hanging out in a coffee shop, or are just out and about. Thankfully, your smartphone can serve as a powerful personal Wi-Fi hotspot, turning your mobile data into a connection for your laptop, tablet, or any other Wi-Fi-enabled device. Not only can tethering provide you with the internet access you need, but it can also open up a world of possibilities for staying connected in today’s fast-paced digital landscape.
Being able to send that important email while waiting for your flight, or streaming your favorite show when you’re far from home can be very convenient. Most major mobile carriers support this hotspot feature, but it’s crucial to check your plan details and data limitations before starting. Many plans offer unlimited high-speed data, but the tradeoff may be no but may no hotspot capabilities. Others may offer small packs of hotspot allowance where streaming or social media scrolling may use up your entire allowance.
Important Considerations
Before you start tethering, consider the implications. Aside from your data plan’s hotspot features, it’s important to also consider device effects. Sharing your phone’s data can quickly discharge your battery especially if you’re streaming videos or engaging in high-bandwidth activities.
If you plan to use hotspot mode regularly, a portable charger may be your device’s best bud.
(Feel free to check out portable charges on Google↗ or Amazon↗ for portable chargers and be sure to review ratings and capacity to ensure it meets your needs.)
Let’s review steps to turn your smartphone into a mobile hotspot, whether you’re using an iPhone or an Android device.
Setting Up a Hotspot on iPhone and iPad
On iPhone
If you’re using an iPhone or a cellular-enabled iPad, activating your hotspot is straightforward:
First, launch the Settings app.
In Settings, find Personal Hotspot or tap Cellular > Personal Hotspot.
Enable the option for Allow Others to Join. If you can’t find this option, check with your carrier to ensure that hotspot capabilities are included in your plan. Note the Wi-Fi password provided (or change as needed), as you’ll need this for other devices to connect.
For quick access, you can also enable the hotspot from the Control Center by swiping down from the upper-right corner of your screen.
On Connecting Device
Now, on the device you want to connect, open its Wi-Fi settings, locate your iPhone or iPad’s name from the available networks, input the password, and you should be all set to browse the web!
If you prefer connecting via Bluetooth, ensure Bluetooth is enabled on both devices. Pair them together from the Bluetooth settings, but remember that the quality may vary based on your connection and distance. For a USB connection, connect your iPhone to your computer, grant necessary permissions, and make sure it’s recognized in iTunes or Finder.
Setting Up a Hotspot on Android Devices
On Android
On Android-powered devices, the process may vary slightly based on the manufacturer and version, but it generally is found within same location:
Go to Settings app or icon from notification panel > Network & internet > Hotspot & tethering.
Select Wi-Fi hotspot, and toggle it on.
- On Samsung devices, navigate to Connections > Mobile Hotspot and Tethering > Mobile Hotspot.
- On a Google Pixel, you can find it under Network & internet > Hotspot & tethering > Wi-Fi hotspot.
- For Motorola devices, go to Settings > Network & internet > Hotspot & tethering.
- Once you enable the hotspot, your network name and password will be displayed, allowing other devices to connect by entering those credentials.
Once you enable the hotspot, your network name and password will be displayed, allowing other devices to connect by entering those credentials.
You can also pull down the notification shade and look for the Mobile Hotspot shortcut for quick access.
On Connecting Device
On the device used to connect, find the Wi-Fi with the same name, and enter the password. You should now be connected.
Third-Party Apps
While both iPhone and Android based devices come equipped with built-in hotspot features, there are apps that enhance this functionality, from extra features and improved management to additional customization options. Keep in mind that unauthorized tethering might be against your carrier’s terms or policies, so make sure to review to avoid unexpected service changes or charges.
While iPhone users can’t install third-party apps outside of the App Store and may be limited due to iOS restrictions, Android users do have more options. Third-party apps may impact your device’s performance or plan, so be sure to read user reviews and check permissions before downloading.
Here are a few popular third-party apps for Android that can optimize your hotspot experience:
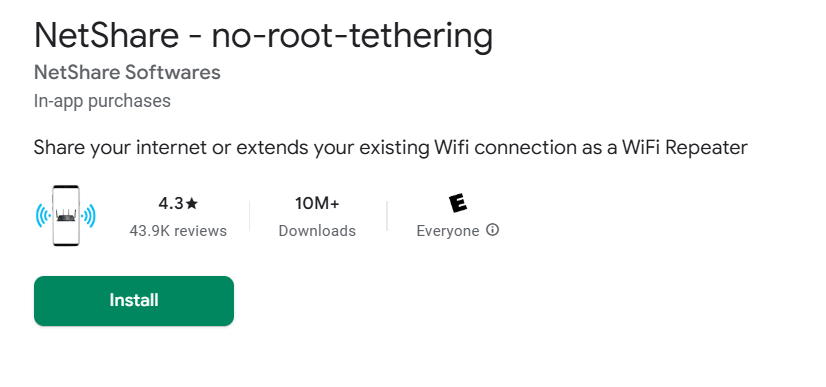
NetShare: Allows you to create a Wi-Fi hotspot without requiring root access on your Android device. Simple dashboard, user-friendly and offers various hotspot options, making it simple to share your mobile data with multiple devices. It also includes different connection options for privacy and different devices.
PdaNet+: Allows you to set up a Wi-Fi hotspot as well as options for tethering via USB and Bluetooth. This app comes with simple data management features, helping you monitor your usage while maintaining a stable connection.
If you’re unable to use your phone as a hotspot, there are options. You can also turn your laptop into a Wi-Fi hotspot, which could be useful during business travel or when you need a larger screen. Dedicated portable Wi-Fi hotspot devices are another excellent option for those needing consistent high-speed internet access on the go.
Setting up your smartphone as a hotspot can be a lifesaver in today’s internet-dependent world. You can enjoy the convenience of staying connected no matter where you are. Just remember to manage your data usage and keep an eye on your battery life so you can make the most of this powerful feature. Happy browsing!


Leave a Reply